Alibi Cloud VS Mobile App Guide v1, Alibi Cloud VS is accessible via web browser for easy live view and footage playback. Simply go to https://cloudvslogin.alibisecurity.com and enter your user credentials to access your cameras via your favorite browser. Alibi Cloud VS mobile app is available for iOS and Android smartphones and tablets. This app is compatible with Alibi Cloud VS cameras.
Features:
(Supported features depend on camera features)
For more information download the Alibi Cloud VS Mobile App User Guide.
iOS App
Android App
Alibi Cloud VS
Direct Camera to Cloud Video Surveillance
Our cutting edge cloud-based VSaaS offering has gained significant traction with dealers and end-users and is poised for significant growth in 2023 and beyond. If you are not selling cloud-based video surveillance then you are missing out on opportunities to recession-proof your business. We’ll be hosting demo sessions to show you how simple it is to install/setup and how it saves you time and money by avoiding truck rolls with an easy to use interface that helps you solve most issues remotely. And it is super easy for your customer to use as well, making it incredibly appealing for home and business installs.
Learn how this powerful solution is gaining traction in cannabis, medical, retail/restaurant and education applications.
Brivo Cloud Access Control
Brivo + Alibi Security: Better Together
Brivo and Alibi Security bring you the best of both worlds… Unlimited access to Brivo’s world-class solutions and support, plus Alibi’s dedicated sales support & innovative marketing platform. The Brivo Accelerate Program is designed to help accelerate growth of YOUR access control business!
Alibi Arsenal
Our FREE Marketing Engine, Ready to Power
Your Business
Marketing is not easy. Alibi Arsenal business growth tools and resources make it easier. This FREE platform can help you generate leads with brandable sales/marketing flyers, get found online with improved Google My Business setup and to turn your current customer base into advocates through a powerful reviews engine. Plus, we give you access to tools that make it easier to tap into your current customer base to generate incremental business by cross-selling products and services.
Come by for a LIVE demo of this platform and to learn how you access these powerful tools.
Expect More from
Your Security Provider
Alibi Security is a trusted provider of security technology, cloud solutions, and growth enablement services—serving thousands of security professionals for more than 35 years. We are committed to quality, continuous innovation, and the investment in the PEOPLE, SOLUTIONS, and SUPPORT required to help our Dealer Partners succeed.
Enterprise Performance
– Without Breaking the Bank
Alibi Cloud VS makes enterprise-level cloud surveillance accessible for virtually any-sized application or budget. Featuring an ultra-secure camera-to-cloud architecture, Alibi Cloud VS dramatically reduces your up-front hardware investment and maintenance requirements, saving you valuable time and money. Ideal for both business and residential applications, Alibi Cloud VS is remarkably scalable – and can easily support larger camera counts and multi-site projects.
Centralized
Management
View cameras from single or multiple locations via a single dashboard, simplifying management and streamlining review of your video evidence.
Eliminate Common
Failure Points
Stream directly from camera to the cloud, ensuring you never lose video footage due to a faulty recorder or failed hard drive.
Enhanced
Security
No port forwarding necessary. SSL/TSL handshakes are used to make the connection from camera to cloud, ensuring encrypted transmission up and down. Video is stored in ultra-secure Tier 4 data centers, featuring triple-redundancy and fault-tolerant infrastructure to ensure your evidence is always safe.
Lower Total Cost of
Ownership (TCO)
No recording equipment, minimal maintenance requirements, and on-demand scalability – so you only pay for what you need, when you need it.
Before referring to this Mobile Application User Guide you must first download and install the mobile application on your mobile device (smartphone or tablet). You can find links to the mobile application(s) on www.alibisecurity.com at the following location:
.
SUPPORT Menu > DOWNLOADS > ALIBI CLOUD VS MOBILE APP
.
Choose the link that applies to your mobile device (iOS or Android), download and install the application. Now you are ready to install and activate cameras.
.
Adding a Camera via the Mobile Application
.
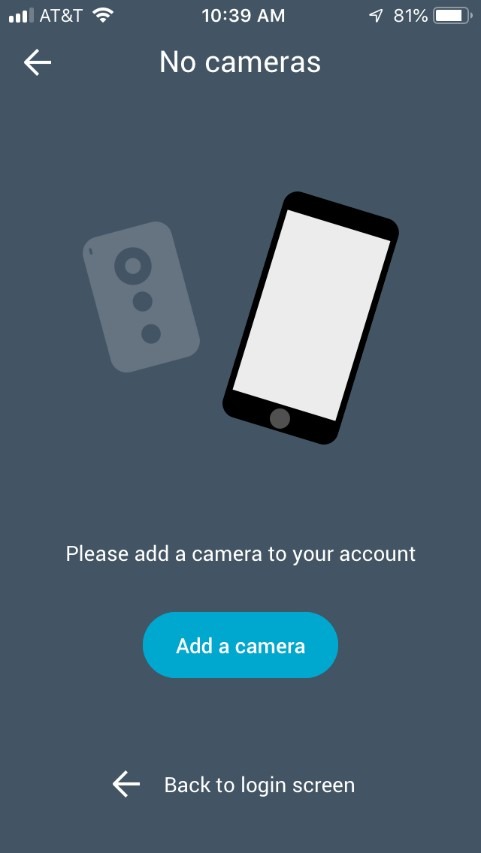
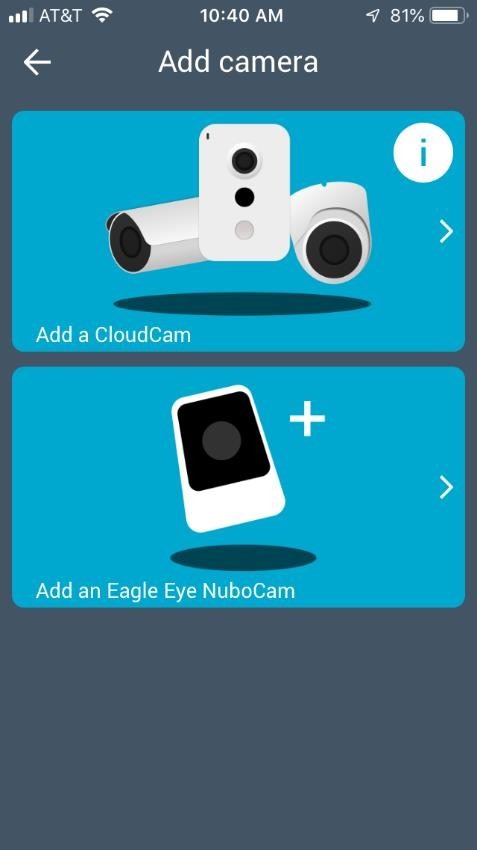
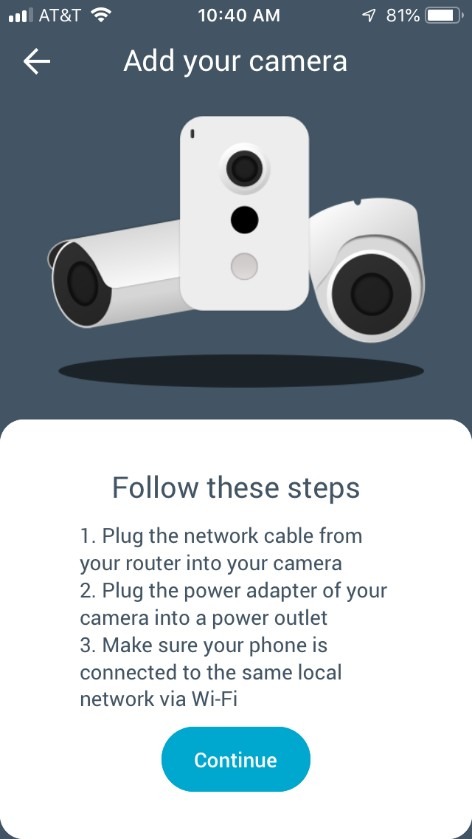
The first time you login to the mobile app, you will be required to enter your username (email address) and the password. The screen will show no cameras attached to your account. You will tap the ADD A CAMERA button on the screen and it will prompt you with a second screen to select the type of camera you want to install. Tap on the ADD A CLOUD CAM section. The next screen gives you specific instructions for attaching your cloud-enabled camera to the network.
.
IMPORTANT: All POE and WiFi cameras must be hard-wired into the local network in order to be discovered by the Alibi Cloud VS solution.
.
Once you have connected the cameras you want to add to your Alibi Cloud VS account to the local area network (LAN) you can tap the CONTINUE button.
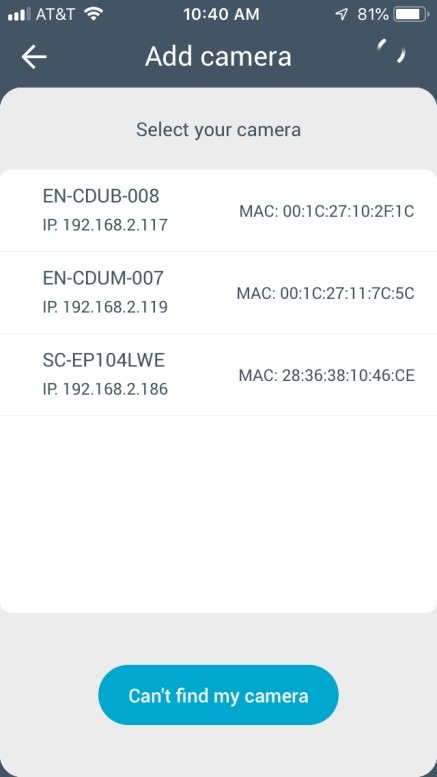
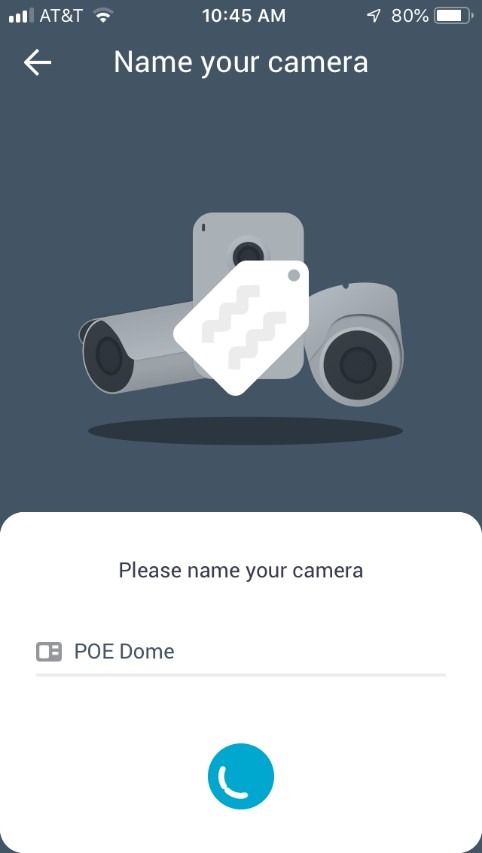
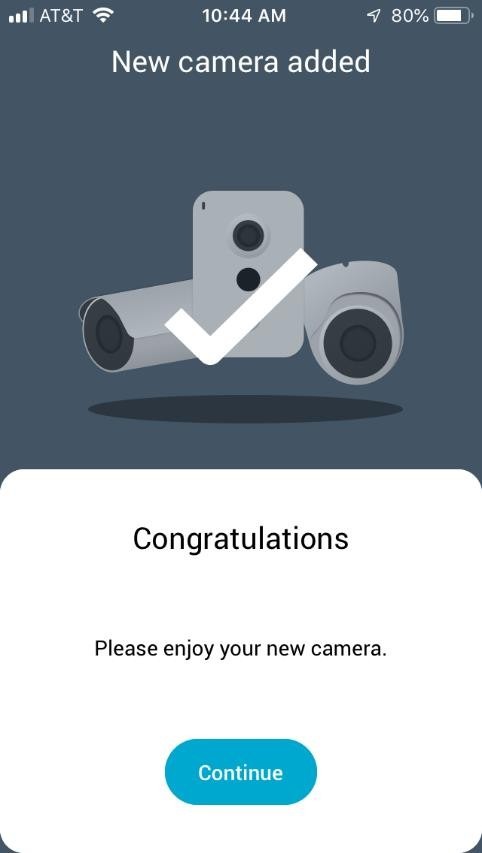
The next screen displays your local network and the cameras that are available to be added to your Alibi Cloud VS account. Tap on the camera you want to add from the list and you will be prompted to name your camera. Type in a name and choose CONTINUE. The system will ping your camera, check credentials and firmware and connect. You should receive a confirmation screen that the camera has been added then tap CONTINUE.
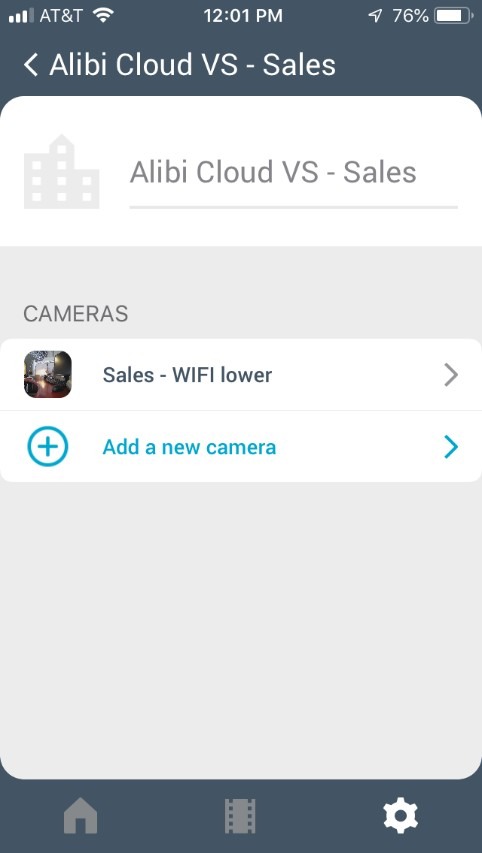
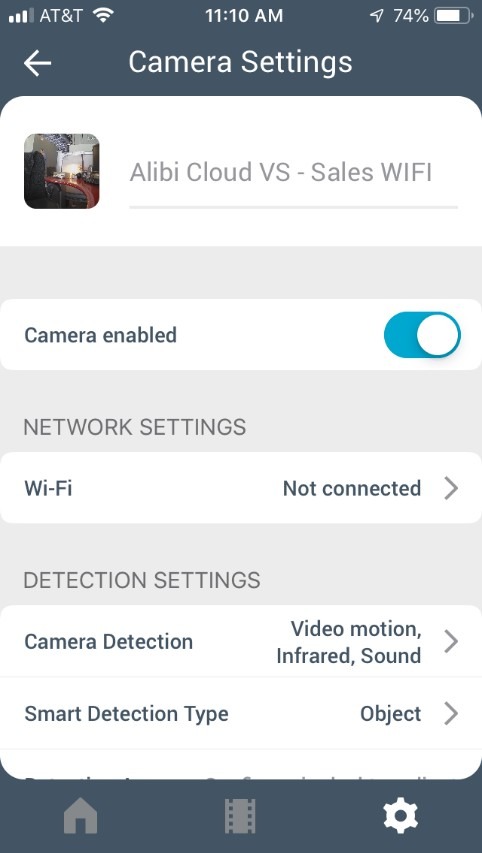
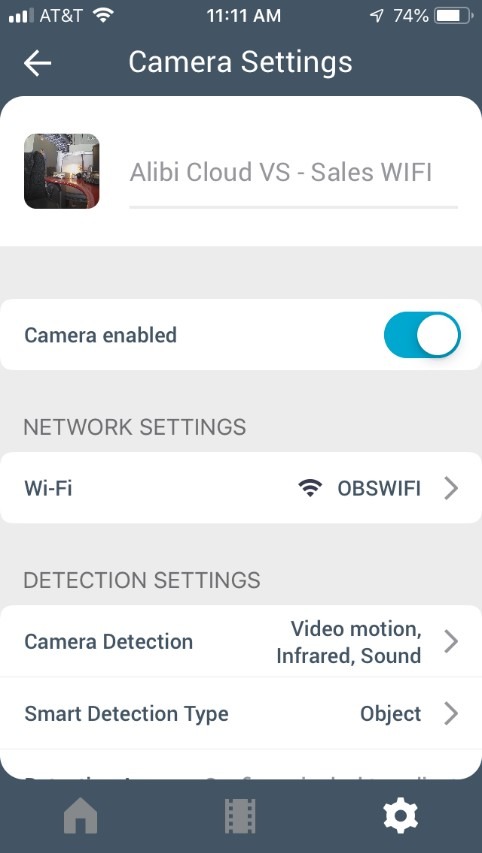
To get your WiFi camera to the wireless network you need to connect the WiFi camera to the wireless network. Tap the zone that the WiFi camera is in. This takes you into the camera selector menu. Select the WiFi camera you want to attach and it will open the camera settings menu. On the main screen, under NETWORK
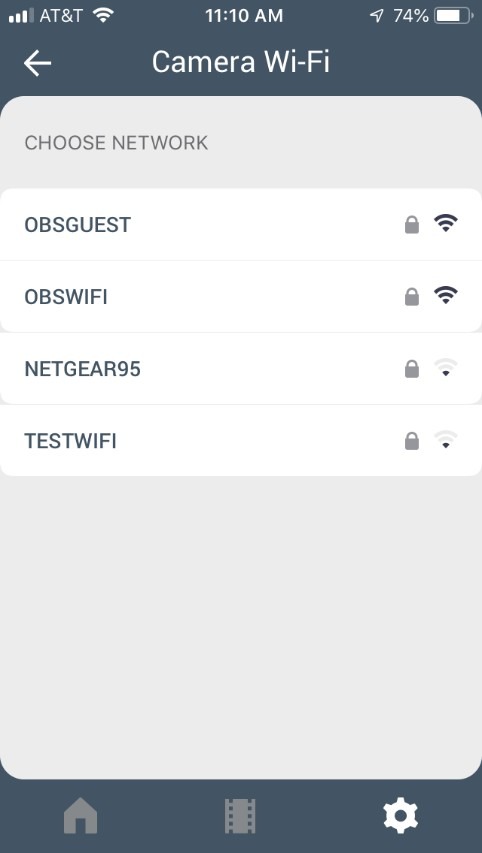
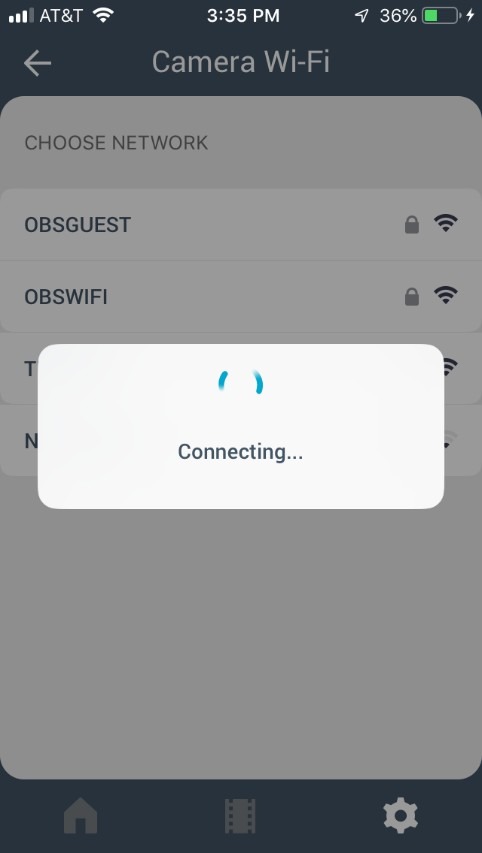
SETTINGS, it will say “Not Connected”. Select this menu option and it will take you into the wireless connection menu, displaying the available wireless networks to connect to.
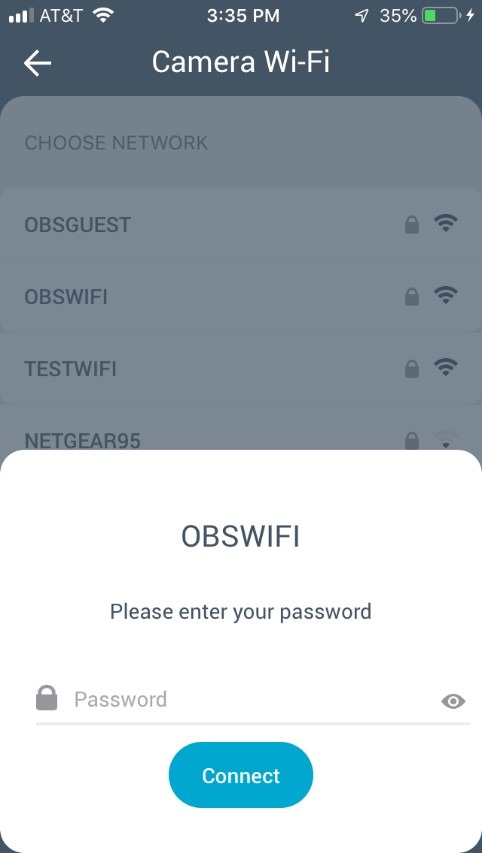
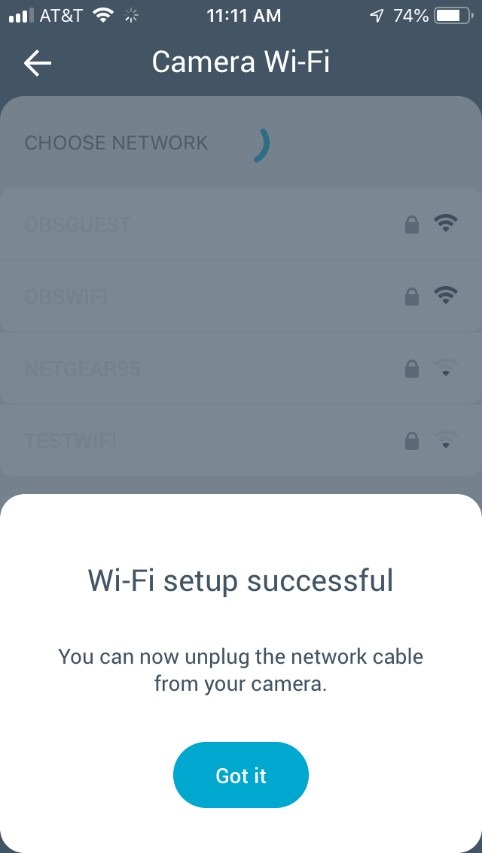
Tap the wireless network you want to attach the camera to. A login screen will open up asking you to enter the password for the wireless network. Enter the password and tap CONNECT. The system will them connect the camera to the wireless network and you will receive a confirmation screen once completed.
.
IMPORTANT: You must keep the WiFi camera hard-wired into the network until you login to the wireless network. Once you get the camera connected to the wireless network you can disconnect the network cable and move the camera anywhere that it has good signal strength to connect to the wireless network.
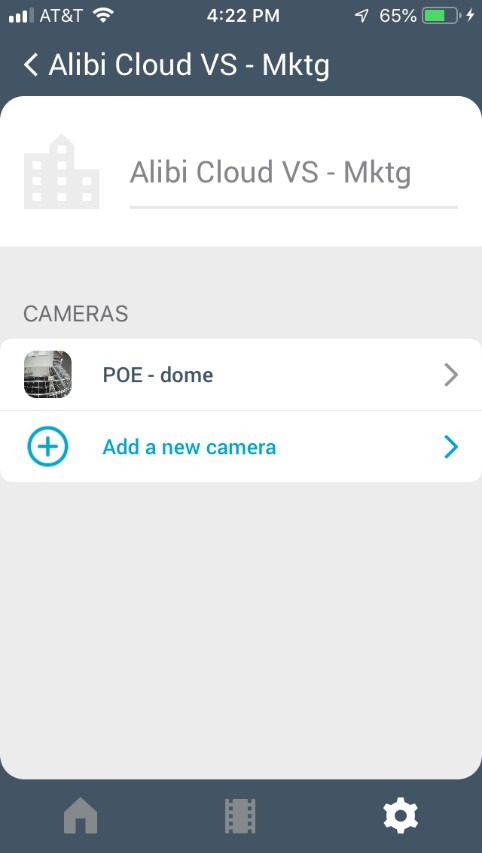
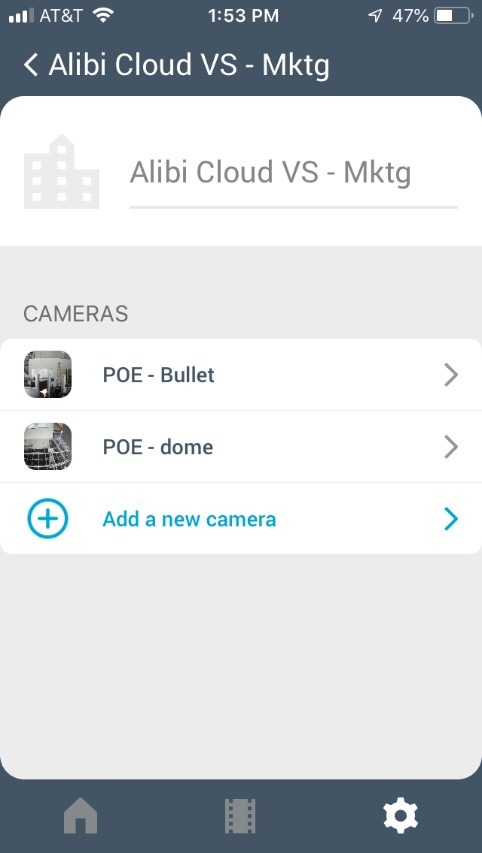
From the main dashboard screen you have two different ways you can add additional cameras to the system. If you want to add another camera to the same zone you already have setup, simply choose the zone on the main dashboard screen, it will pull up the camera viewing screen and you will tap the Gear icon at the bottom. It will open a screen that shows the current camera(s) assigned to the zone and the ADD A NEW CAMERA button.
Tap this and follow the instructions to add a new camera.
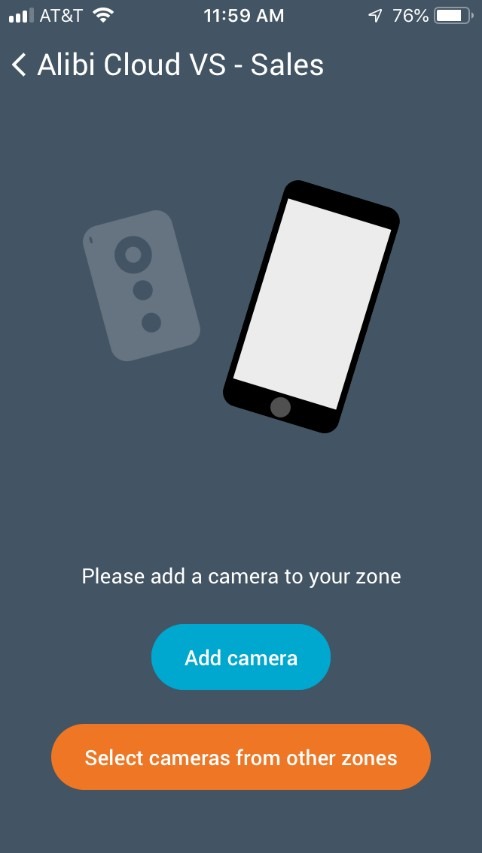
The second option for adding cameras is to setup a new zone and add the camera to that new zone. From the main dashboard screen tap the + icon in the top left corner of the screen. This opens a new screen that lets you setup a new zone. Click ADD CAMERA and then follow the instructions for adding a new camera explained previously in the User Guide.
From this menu you can also move cameras currently signed to other zones to the new zone. Simply click SELECT CAMERAS FROM OTHER ZONES. A menu will be displayed showing cameras already attached to other zones. Click the camera and move it to the new zone.
.
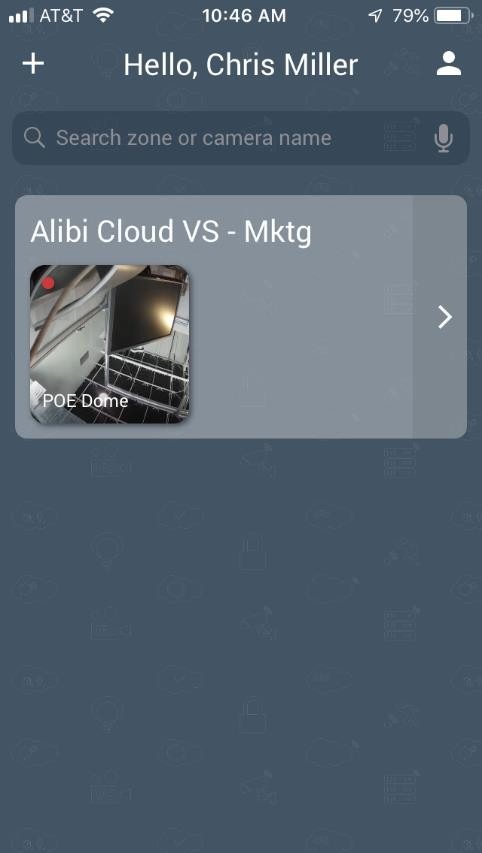
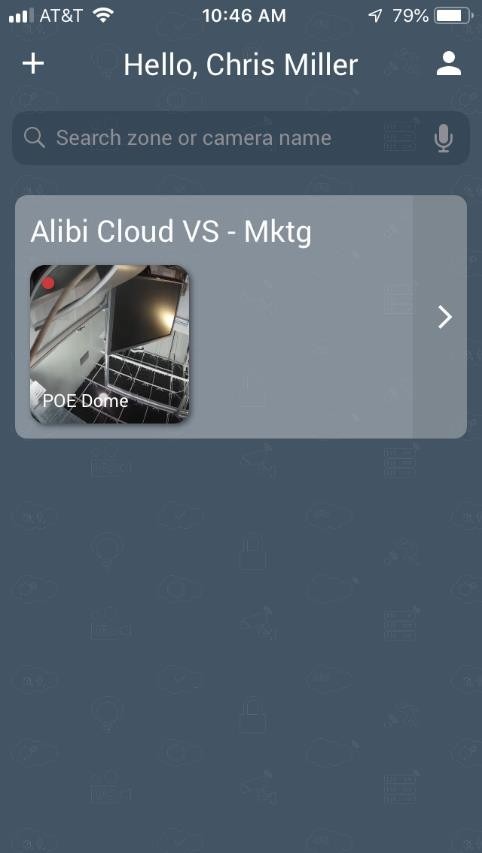
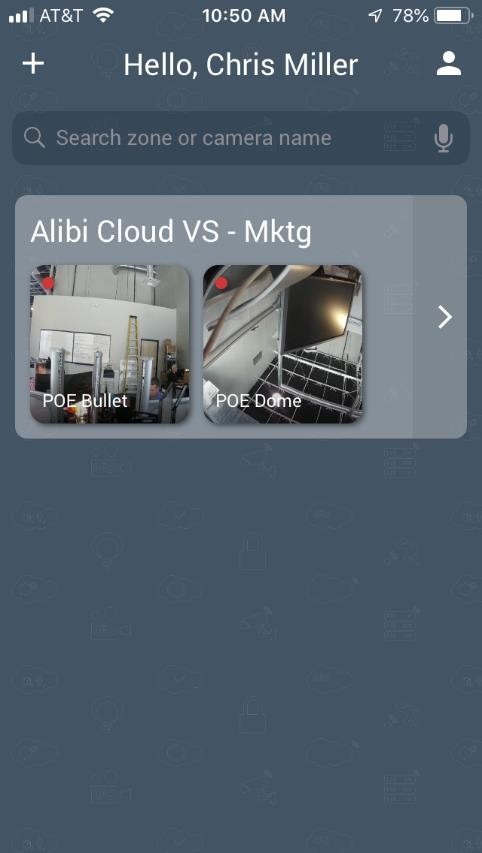
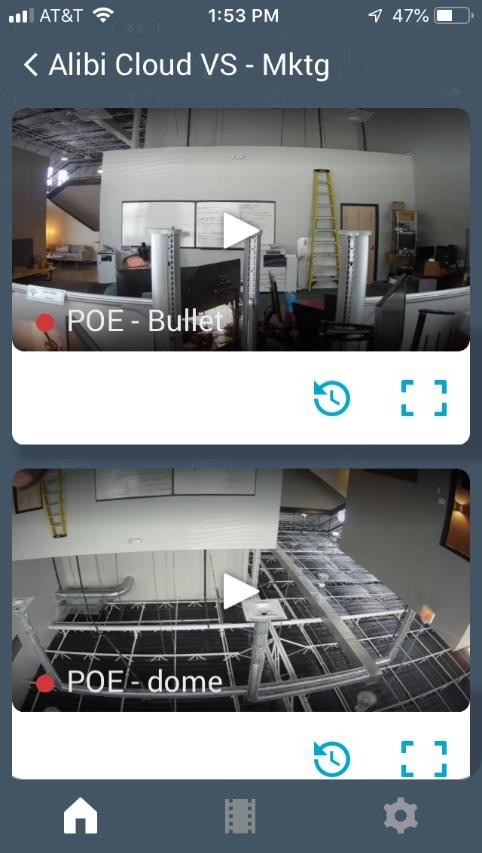
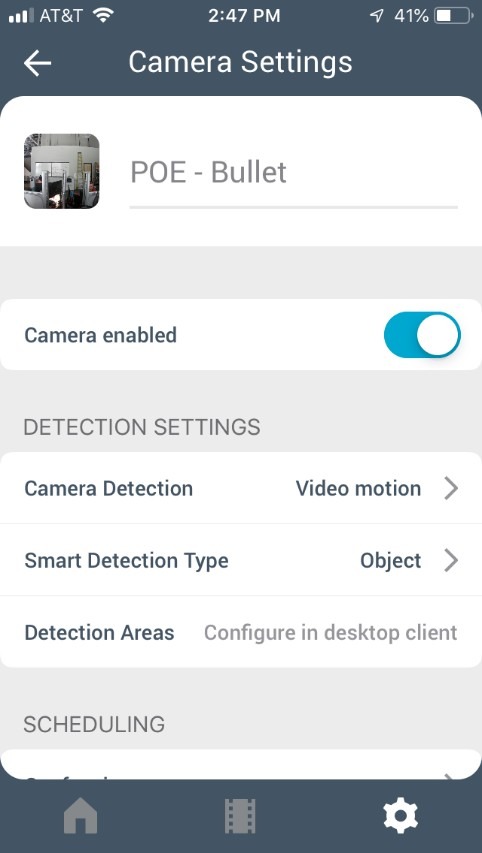
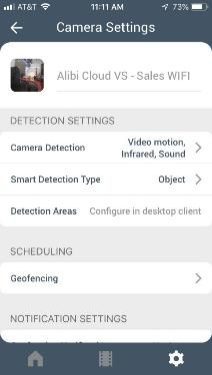
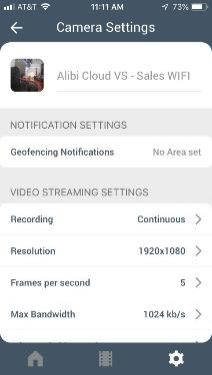
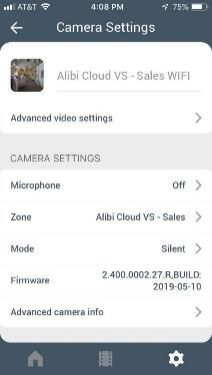
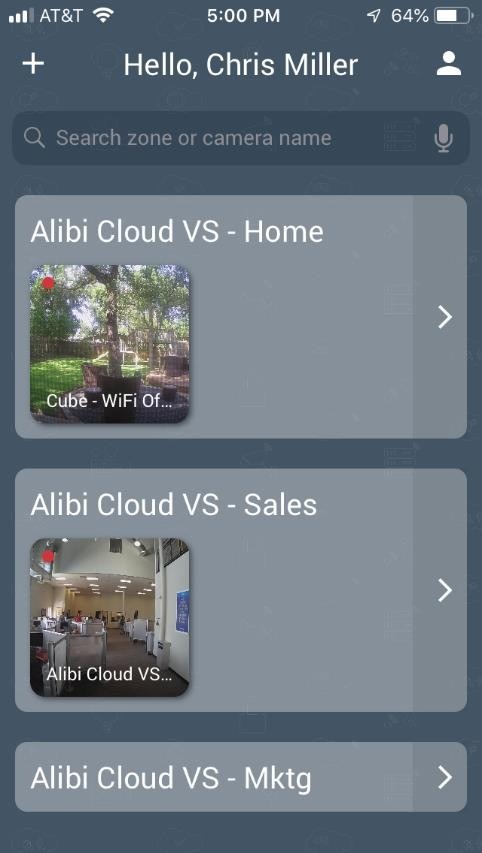
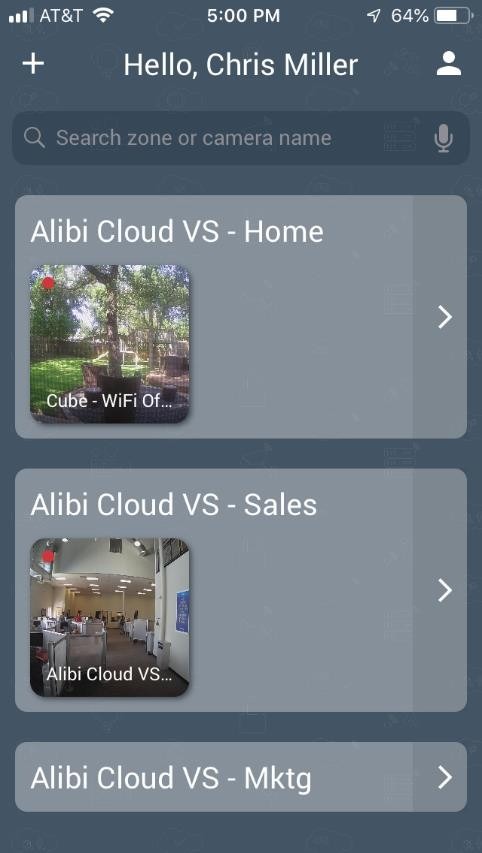
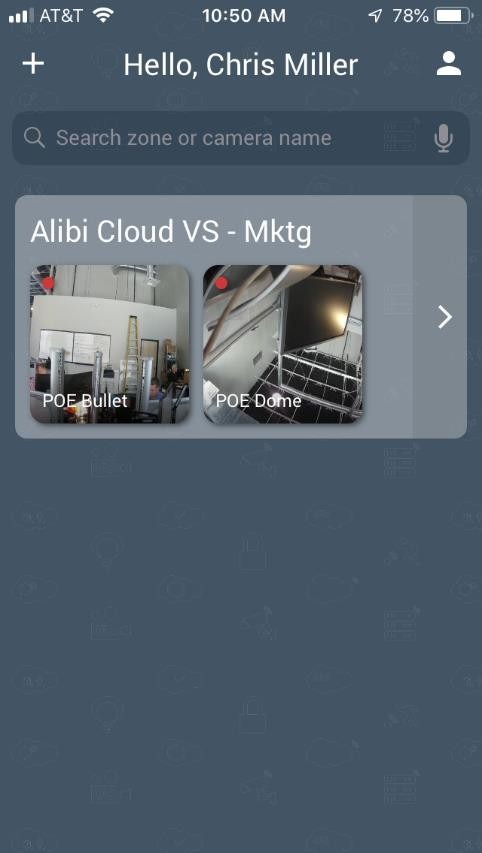
After adding the camera you will be taken to the main camera dashboard screen. From this view you can see all of the zones cameras have been assigned to. Select the zone you want to view. An individual thumbnail view of the camera(s) will be displayed. Tap on the gear icon at the bottom of the screen and it will take you into the settings selection menu. Choose the arrow to the right of the camera that you want to adjust settings for and you will be taken to the settings menu for that specific camera.
PoE Camera Setting Menu
WiFi Camera Setting Menu
In the settings menu for each camera you are able to control the following settings:
Account Settings and TouchID/FaceID Login
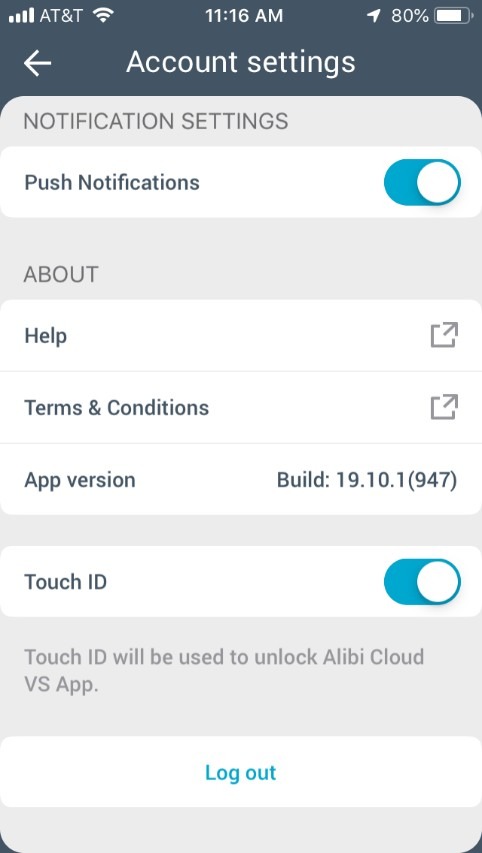
After you login and add a camera to your system you can select the home button at the bottom left of the screen and it will take you to your main dashboard. Select the person icon in the upper right and this will take you into account settings. From here you can enable remote support access, enable/disable push notifications and enable TouchID/FaceID login for easy access when starting the app.
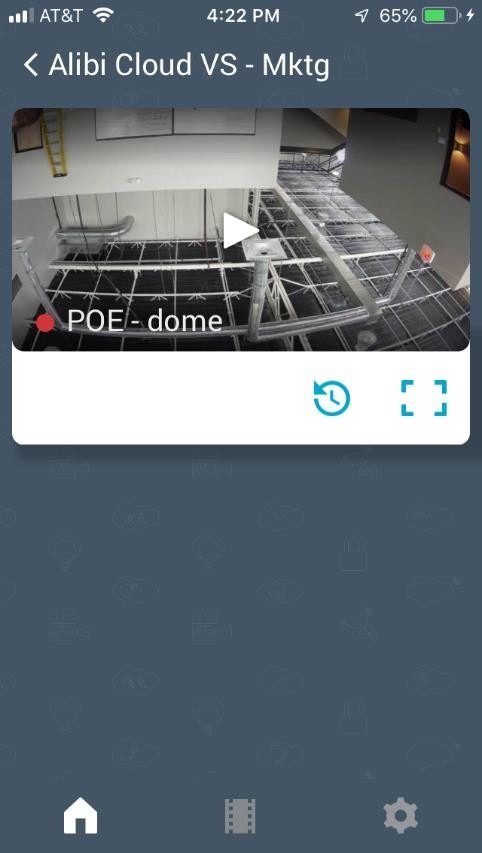
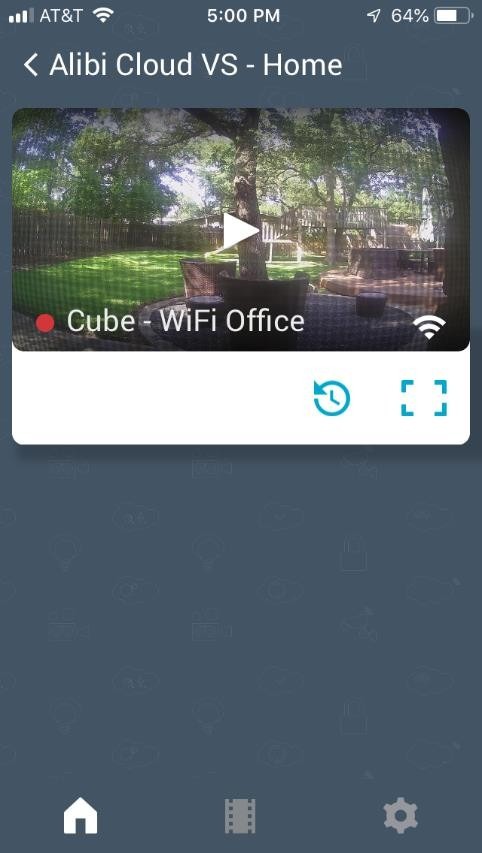
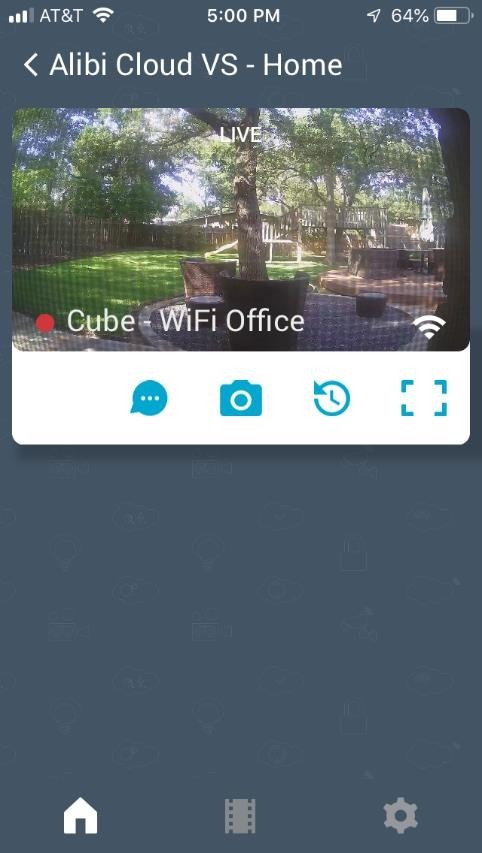
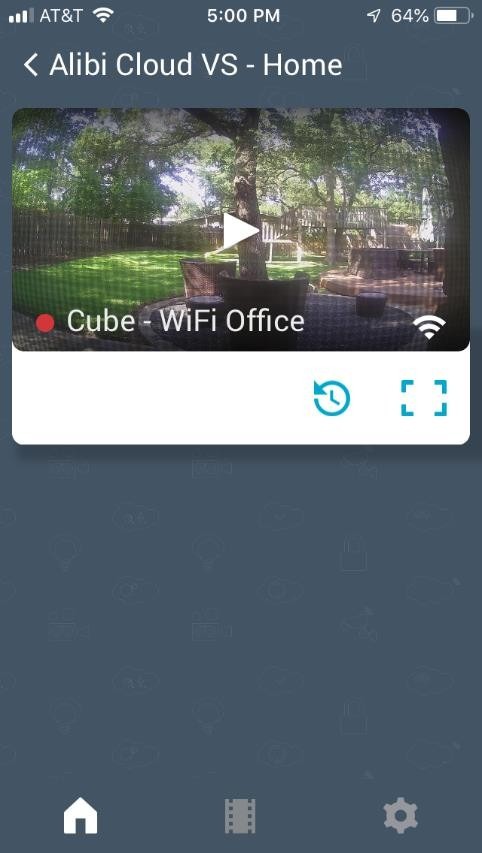
To view live video from your cameras connected to Alibi Cloud VS, go to the main dashboard screen and select a zone to view. Once in the zone, you will see the individual cameras with ‘play arrows’ located in the middle of the thumbnail screen. Simply click on one of the ‘play arrows’ in the thumbnail and live viewing will begin. You will see the word “LIVE” appear at the top of the thumbnail viewing screen. Want to enlarge the viewing area? You can simply turn your smartphone/mobile device to landscape to view in full screen mode.
Viewing recorded video (footage) is also very simple. You will need to choose the zone that includes the camera you want to review recorded video from. This will display thumbnail views of all cameras associated with this zone. If you have multiple cameras in a zone, you will see multiple thumbnails. To view recorded footage for
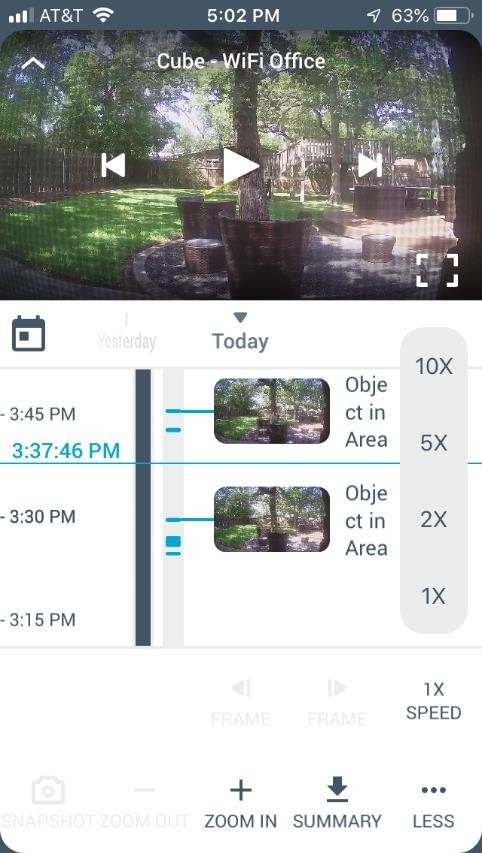
 a specific camera tap the clock/rewind icon ( ) at the bottom of that camera thumbnail view. This will take you into the footage screen where you can review a timeline, with detection events noted. You can scroll through the timeline by scrolling with your finger, either up or down, to view events that happened earlier or later in the day.
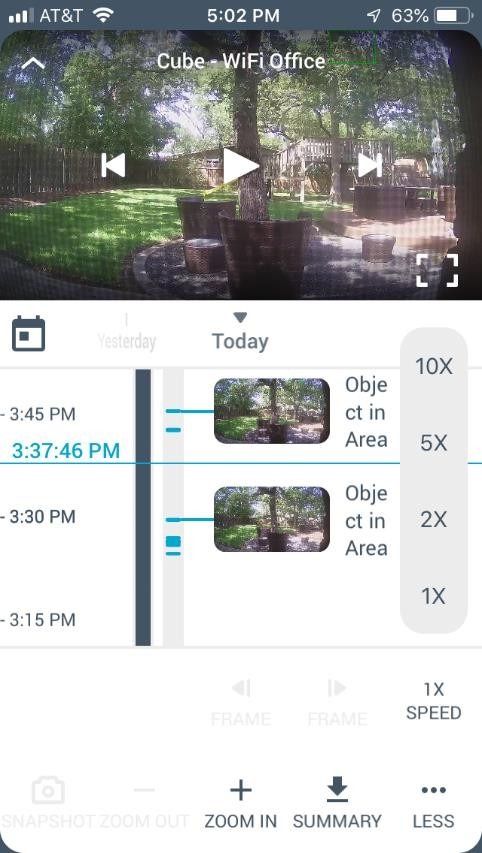
There are settings and features on the playback screen that make it easier for you to review video quickly. You can select the ZOOM IN button and the timeline will appear in smaller increments, allowing you to find events more accurately. You tap the MORE menu and adjust playback up to 10x faster than normal.
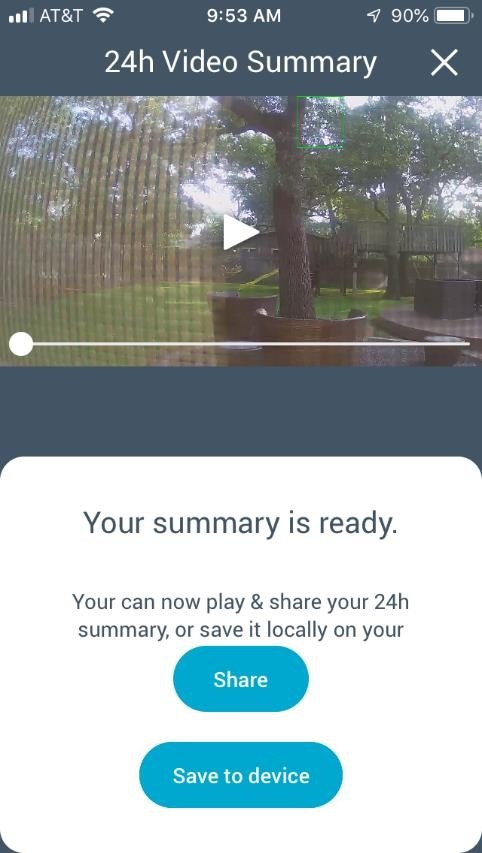
The SUMMARY button at the bottom of the page lets you create and download a video summary of detection events for the last 24 hours. Simply click the button and the app pulls detection events into a single summary video. Creating a summary takes a few minutes and once completed you have the option to save the 24 hour summary to your mobile device or share it with someone else.
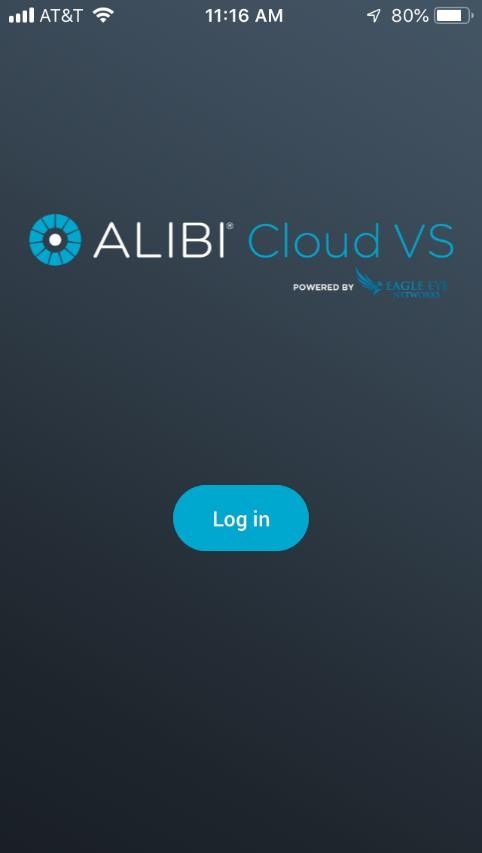
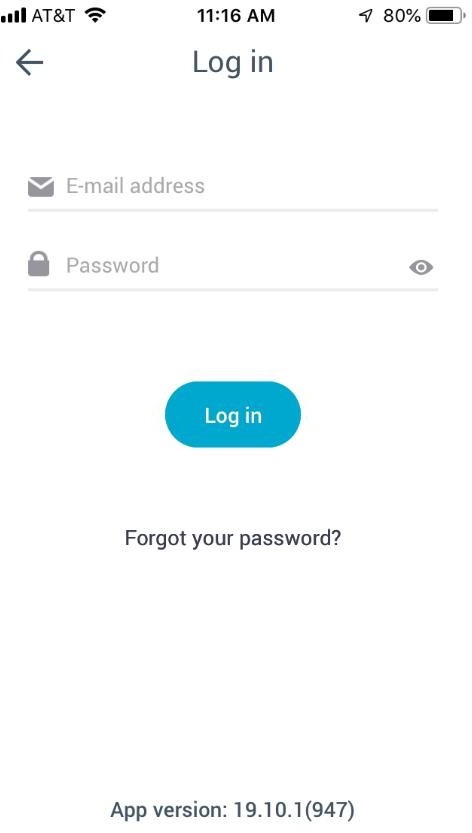
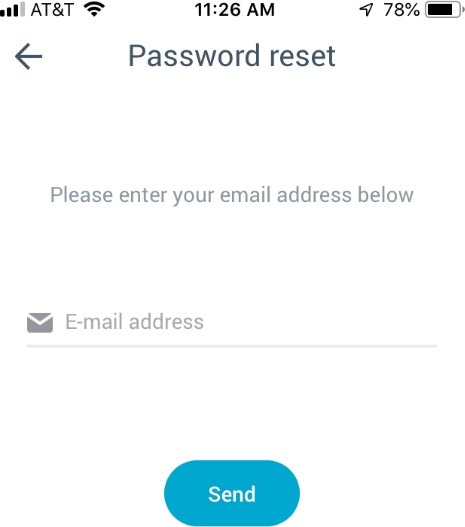
If you have forgotten your password or simply want to reset it, you can easily do this by selecting the person icon in the main dashboard screen. Click ‘Logout’ and on the next screen tap ‘Log In’ and it will take you to the main login page. Tap ‘Forgot Your Password?’ and a screen will appear for you to enter your email address. By entering your email address and clicking ‘Send’ you will receive a secure link in your email to reset your password for your Alibi Cloud VS account. This new password will be valid in desktop and mobile apps.
